How to Smelt Scrap Copper into Shiny Ingots - Full DIY Process

Welcome to this fun DIY copper demolding adventure!

Learn the DIY copper demolding technique. Let’s see how we transform copper into radiant and elegant ingots that are not only stunning but also marketable.
In just a few minutes of reading, you’ll fully understand the process, from demolding the piece to polishing the final product.
Homemade copper scrap smelting

Let's get started!

First, we need to prepare our piece for DIY demolding. This is essential to transforming copper into something exceptional. We’ll demold and assemble it following a step-by-step process.

Before we begin, subscribe to our blog for updates.

Ready to demold the copper and turn it into dazzling, shiny ingots? Let’s get started! Safety warnings: The activities shown in this video involve high temperatures and metal demolding. Do not attempt this at home, especially if you don’t have the proper equipment.
It is crucial to follow all established safety guidelines.

Here you have the forge, the heating elements, the thermocouple, and everything else you need.

Be sure to follow the instructions, and you’ll soon be ready to demold metal like a pro.
Homemade copper scrap smelting
Now that our forge is ready, it’s time to fire it up. Heating the forge to the correct temperature is crucial for melting the copper.
If you are using your collapsible crucible for the first time, it is essential to dry it before use. To do this, heat it until it begins to glow, and then allow it to heat naturally.
This procedure ensures that the crucible is properly conditioned and ready to safely withstand high temperatures.
Homemade copper scrap smelting
After this initial heating phase, your crucible will be ready for your metal casting projects. Now comes the exciting part. We’ll place the demolded copper in the crucible and watch it transform into molten metal.
This is where the magic happens. You’ll notice the rapid transformation. The copper demoldes easily, and before you know it, you’ll have a bath of demolded copper ready for the next step.
Now it’s time to remove the copper. The copper on top of the demolded copper is an impurity. Removing it ensures that the final ingot is clean and shiny.
Remember to heat the demolded mold before adding the demolded copper. This step is essential for achieving a clean, smooth surface on the ingot and preventing imperfections during the addition process.
In the description below, you’ll find a complete parts list and links to purchase all the items needed for this project. In our DIY guide, we describe each step in detail so you can easily follow along.
It’s time to place the demolded copper into a graphite mold. Graphite is ideal for this, as it withstands the high temperatures of molten metal. This is a crucial moment.
Make sure to pour it gradually and continuously to achieve the ideal shape. We’ll let it rest in the mold for a few minutes, but not too long. You’ll see how the copper begins to harden into our ingot.
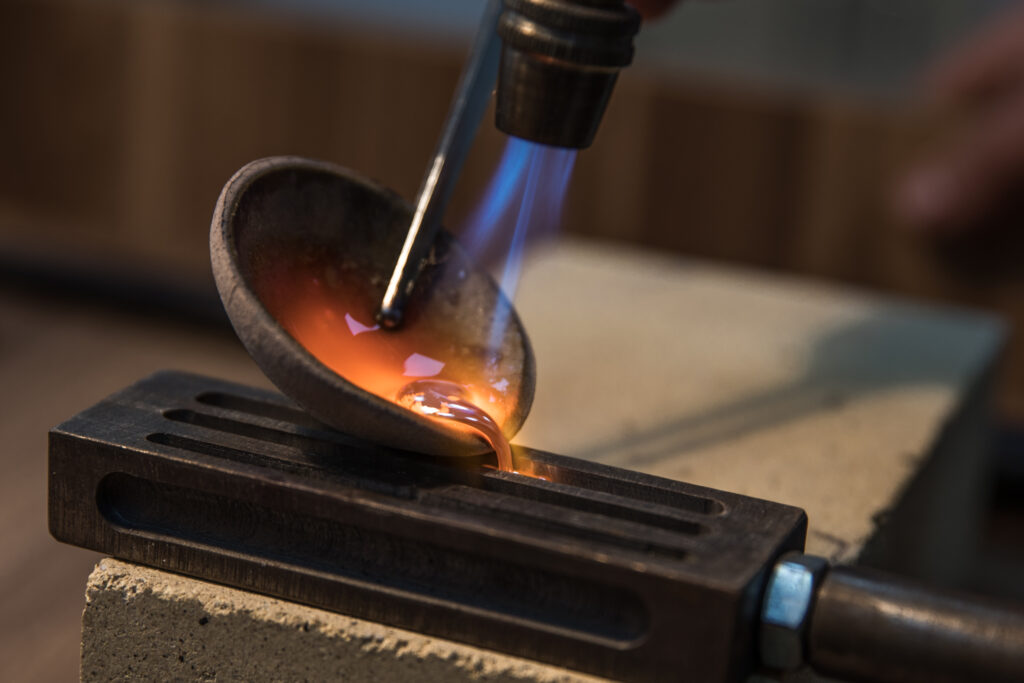
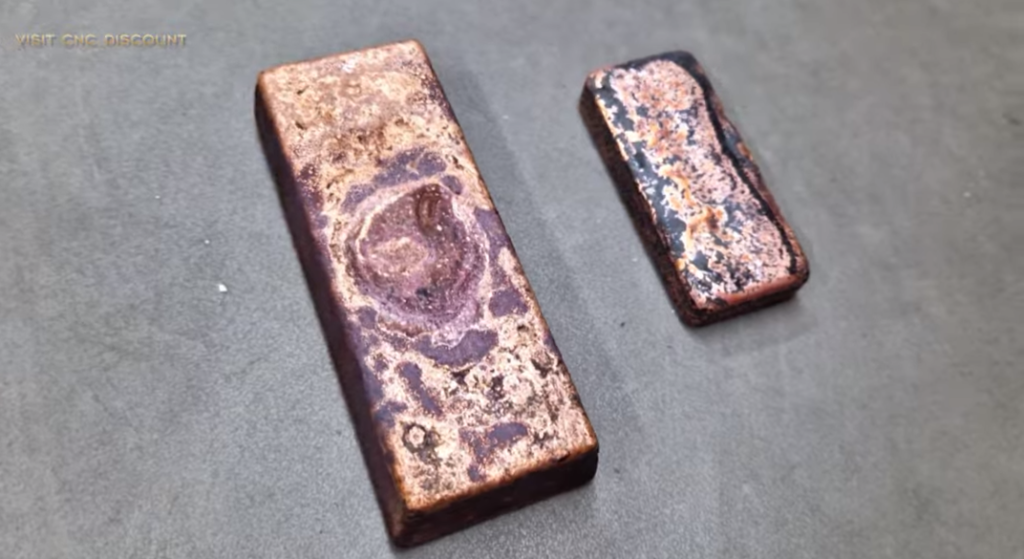
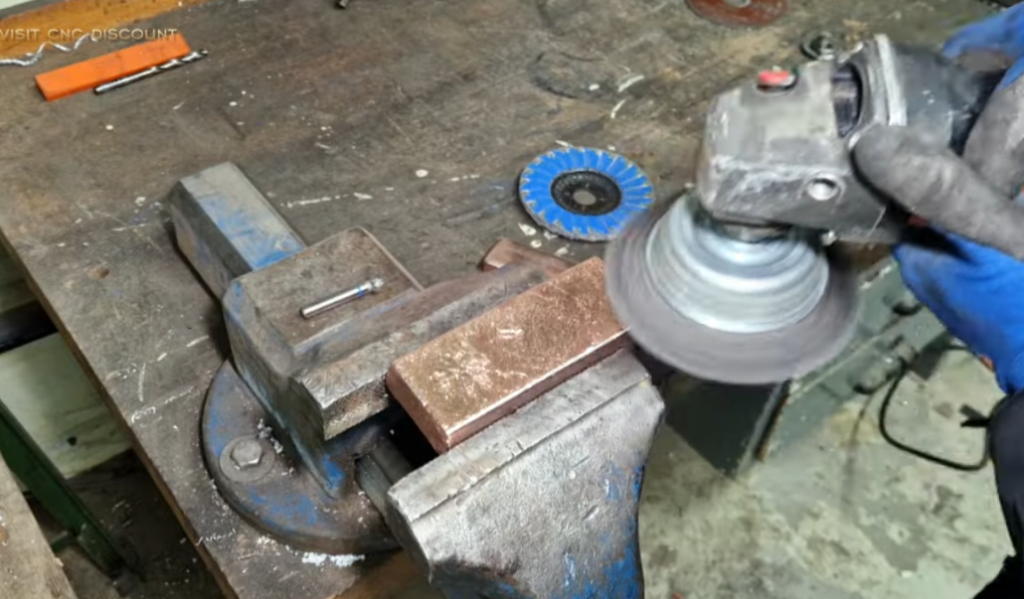
After removing the ingot from the mold and letting it cool, our copper piece will be ready to be discarded. However, the key is to manipulate it and shape it a little more to improve its appearance. 
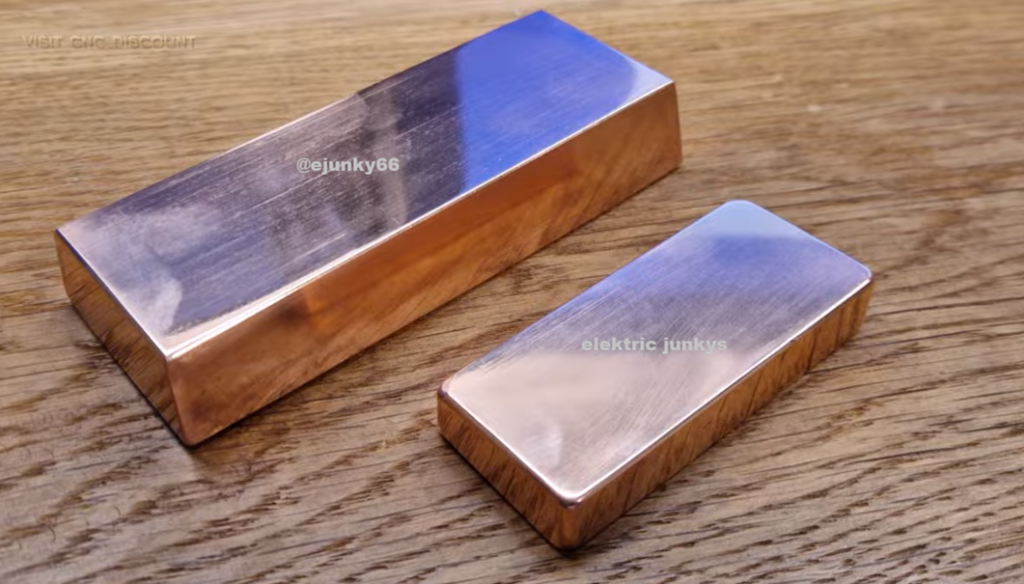
Then, we’ll place it in cold water to cool completely.
Homemade copper scrap smelting
Next, it’s necessary to remove the remaining material. For this, we’ll use an angled hole.
Be sure to follow the safety instructions:
This step is crucial for cleaning the ingot. The hole will facilitate obtaining a uniform surface and will result in a beautiful copper bar.
Flawless ingot cleaning:
Now it’s time to clean the ingot. We’ll polish it until we achieve a smooth and attractive surface. This procedure is essential.
This is the moment when you can truly appreciate the result of your work and see if your DIY project has been a success.
The cleaning process can be laborious; however, the end result is completely worth it. Therefore, it is essential to clean and polish the ingot until its surface is shiny and smooth to the touch.
Homemade copper scrap smelting
After a little effort in cleaning, it will look even more impressive—like a work of art. In the end, you have your own recycled copper ingot, which has been cleaned and is ready to be sold or kept as a trophy to show to friends and family.
Homemade copper scrap smelting
Shopping Cart
Scroll to Top