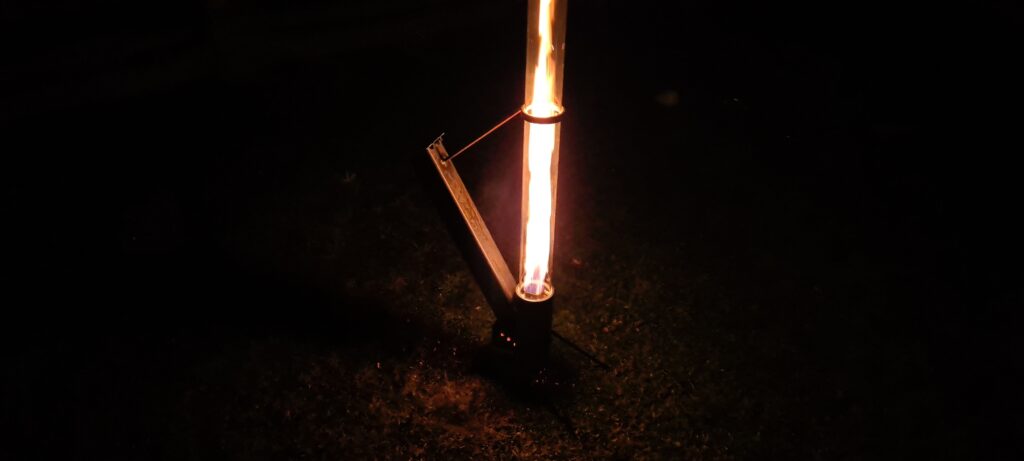
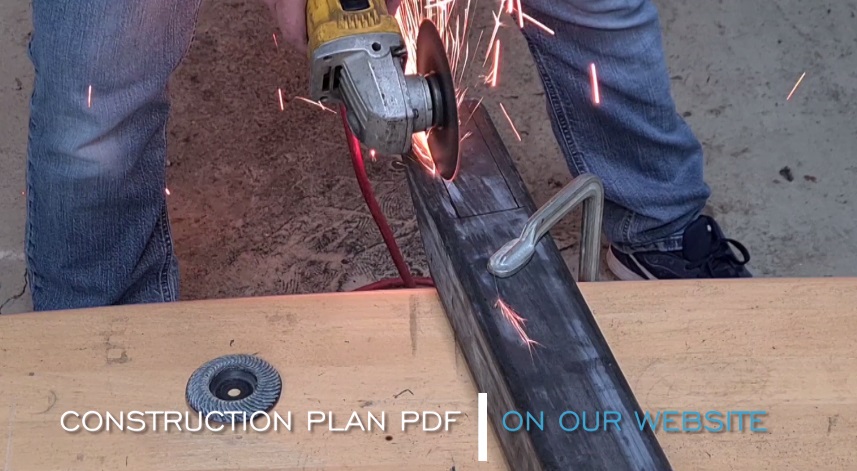
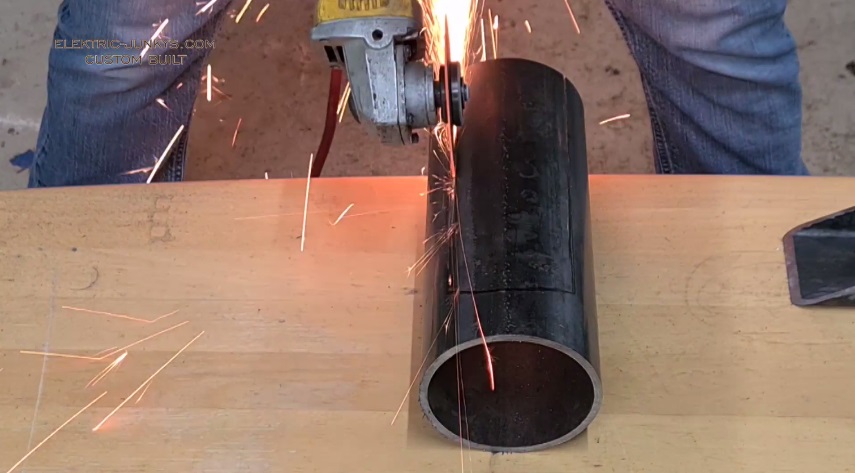
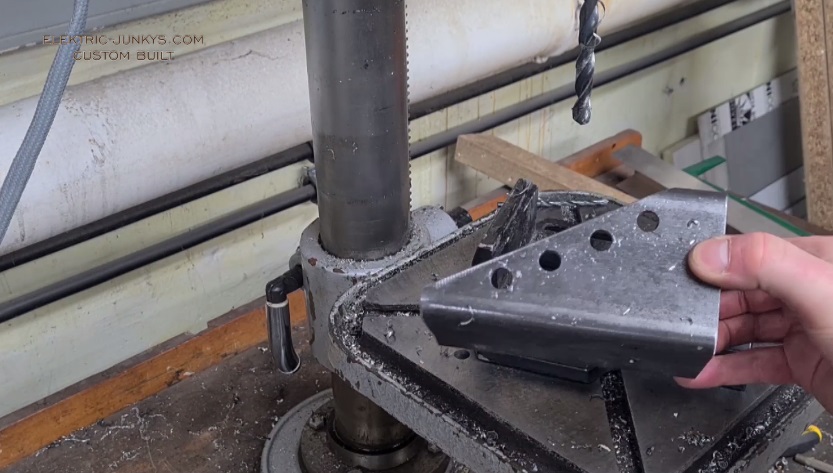
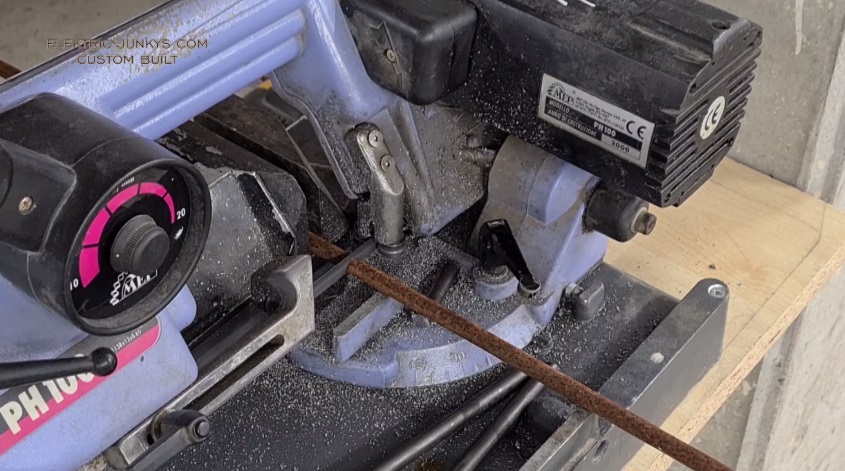
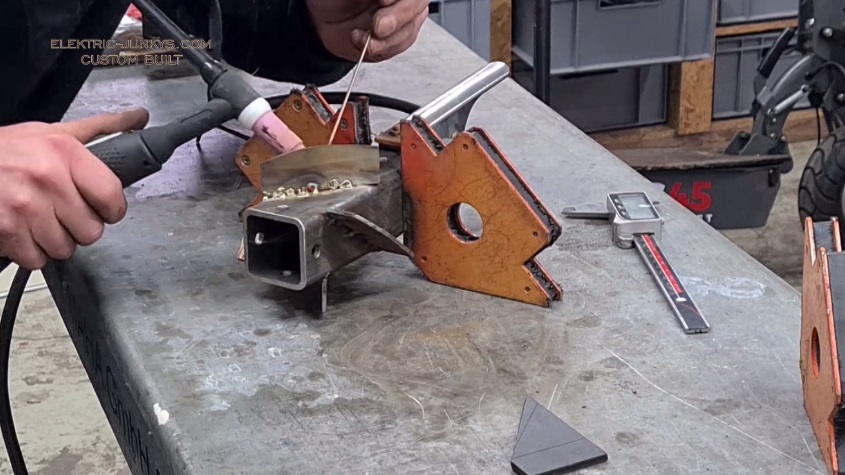
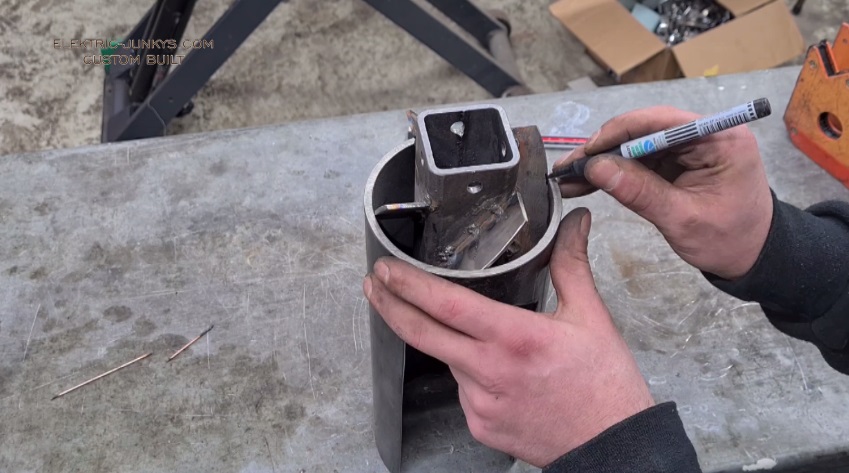
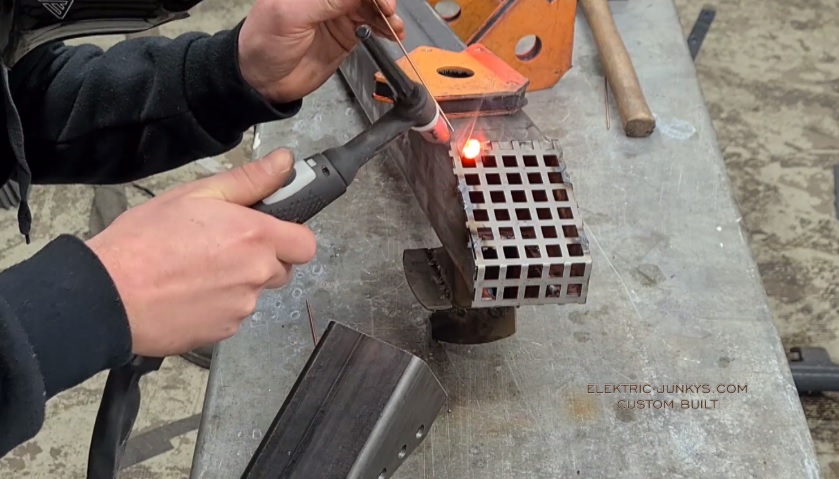
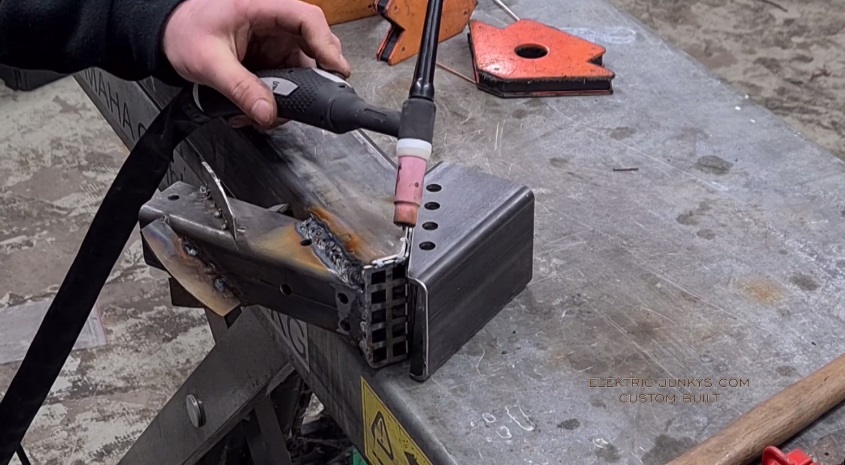
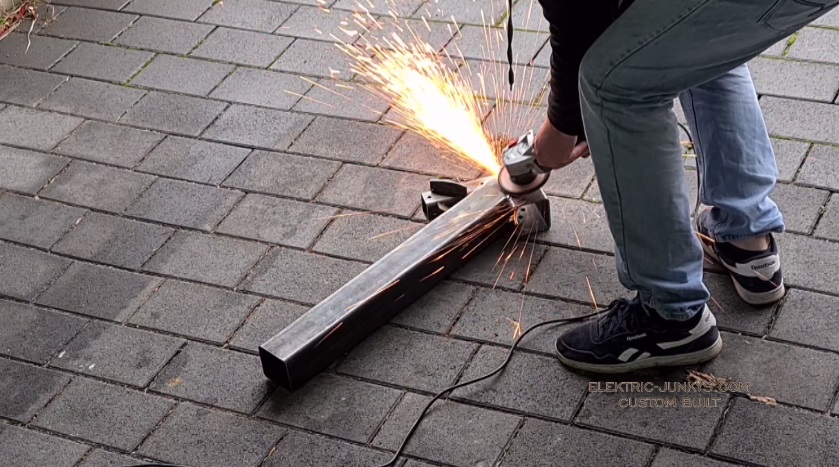
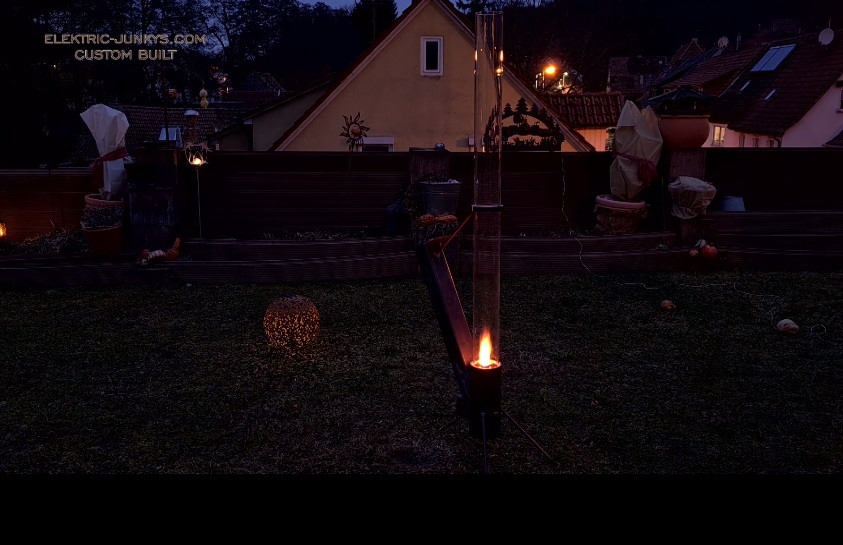
What do we need to – make a Vortex Fire Tornado
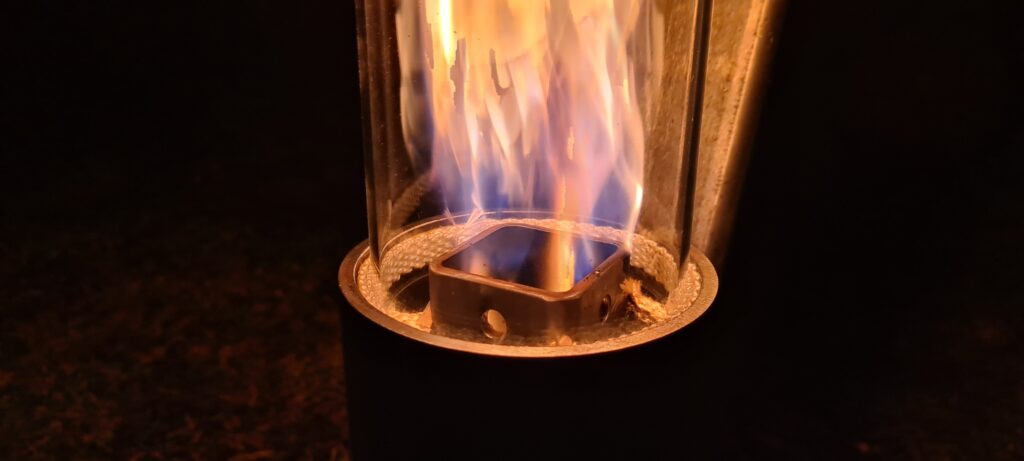
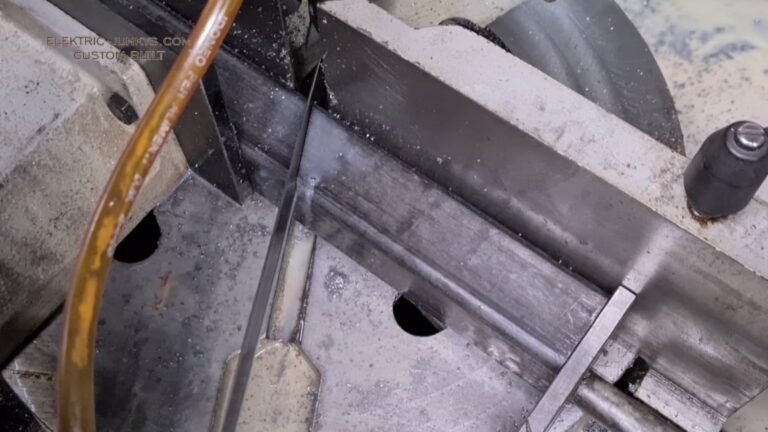
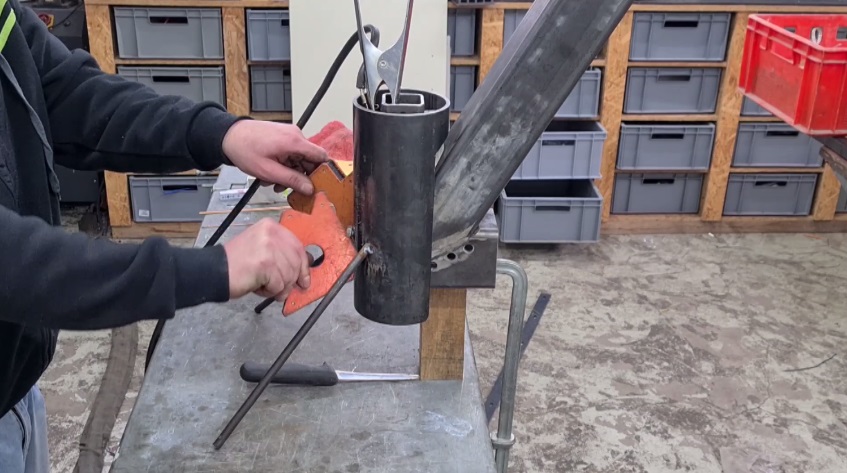
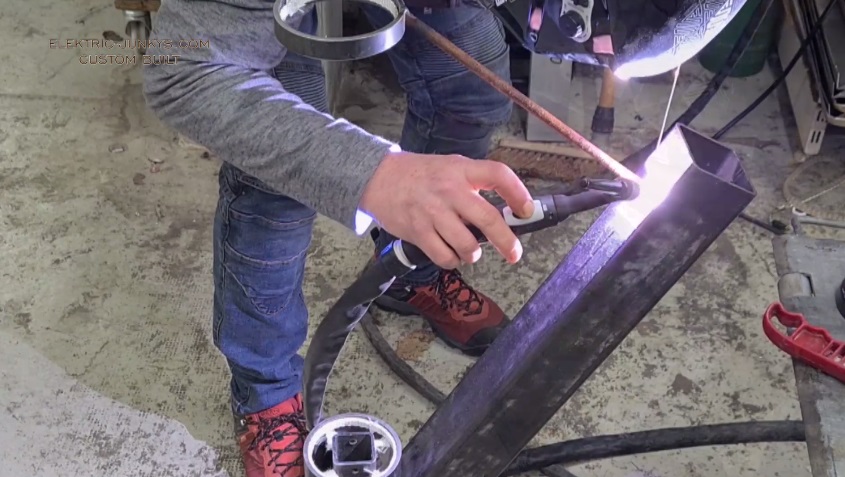
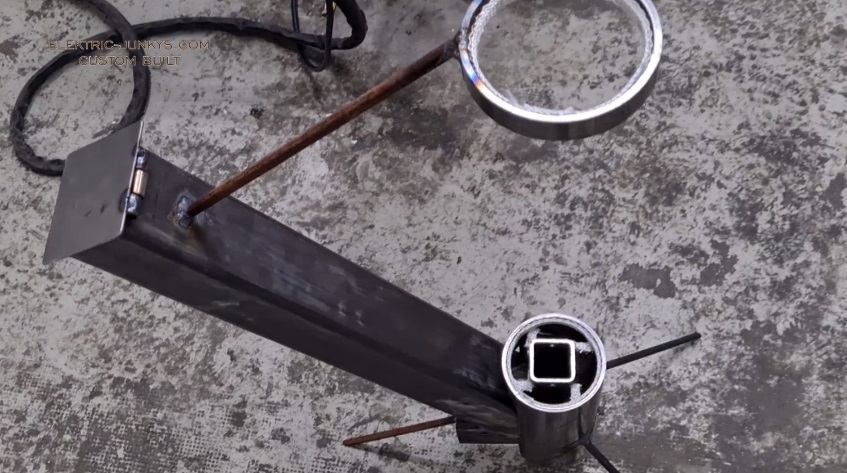
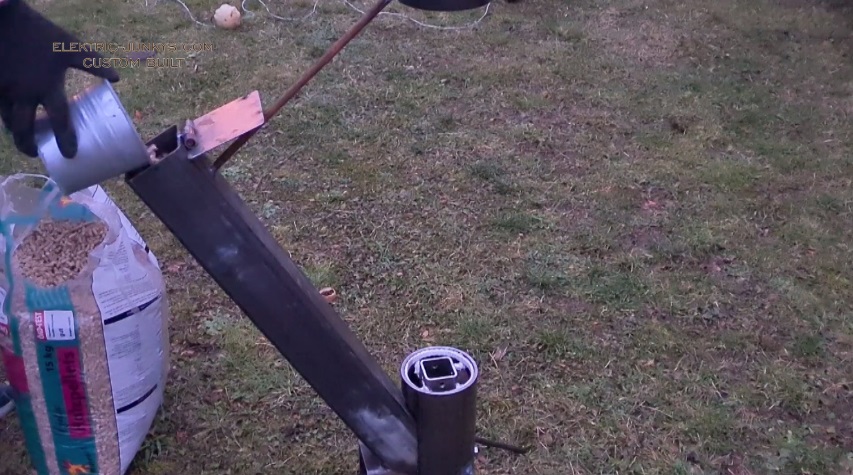
The Fire Tornado Glass Tube in general is based on an Rocket Stove construction, easy to make and the material for this project is also available in nearly all Country´s. The Material List (Amazon Affiliate Links) supplyers in this Project are mainly based on the United States, For European Part-list please switch Languages ! In this project we were using a (Stahlwerk Weldingmachine) which is really awesome, affordable and useful for all kind of Materials.


AWESOME Content guys keep up, i am waiting to see the container house wheels DIY
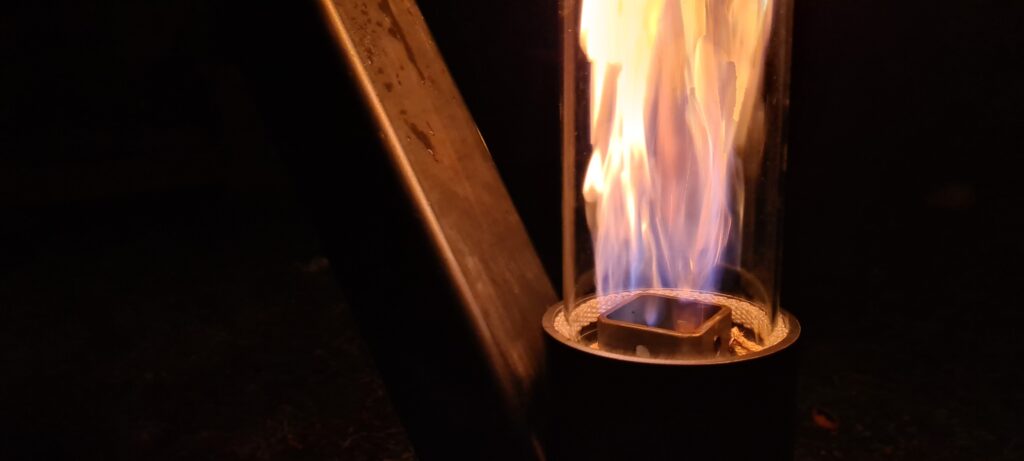
Very cool project! Is the glass tube made of regular glass or pyrex?
Where can i order the glass tube?
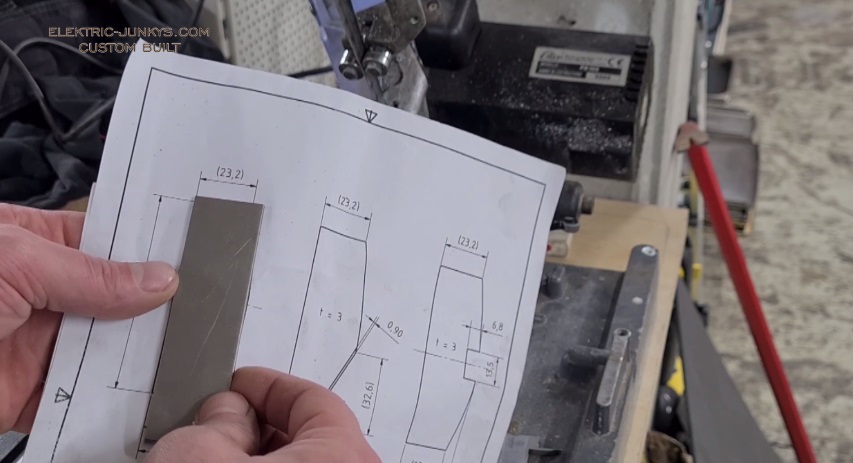
hi, thank´s very much for comment, direct order link for Europe https://amzn.to/3Ls8bjO you can find all Parts in the Link List click on download and a PDF Will open. Happy New Year lately
Can I get these plans in US inches
hi, sure not a Problem Thanks for comment